How to measure an existing verandah fretwork panel
Published
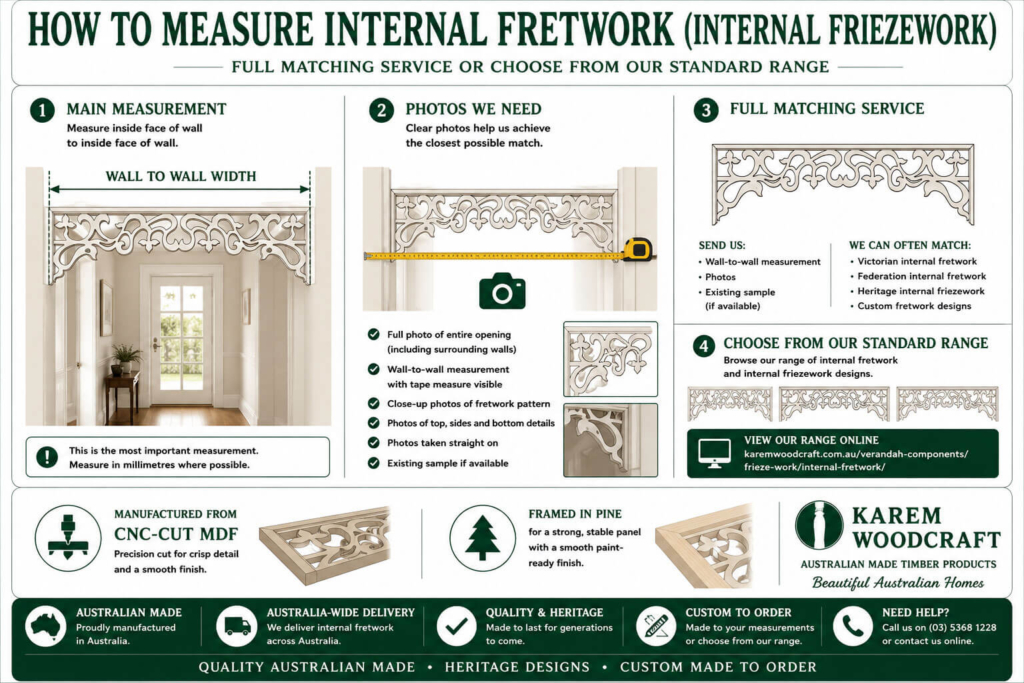
If you’re replacing one length of verandah fretwork, start with the bay it came from. The width of the broken panel can be misleading if the ends have split or if an earlier repair has left it short. Measure the space the replacement will go into and, where possible, compare it with a sound panel nearby. A sketch and a few clear photos are usually easier to follow than a long description.
Start with the opening
Measure between the inside faces of the two posts at the height where the panel fits. If the posts lean or the bay narrows below the beam, mark where you took each reading. Do the same for every bay you plan to replace. Even on a verandah that looks symmetrical from the footpath, the openings can vary. Label the measurements left to right on a wide photo so the workshop can match each set of numbers to the right opening.
For a straight panel, record its full depth and thickness as well as the width. For an arched panel, measure down from the top edge at the left end, the centre and the right end. Label each point on the sketch. Those three drops describe the shape much better than the overall width alone. The external fretwork range shows both straight and arched treatments if you need to see what the two outlines look like.
Get the pattern and the join in the photo
Take one photo square to the front of the whole panel. Then hold a ruler in the same plane as the timber and take close photos of an upright, a full pattern repeat and the bottom rail. Include the ends, especially where the panel meets a corner bracket. Mark whether the bracket overlaps the fretwork or sits clear of it. A photo from underneath can help show the thickness and how the rail is set back from the face of the post.
When a pattern has surviving neighbours, count the repeats in the intact panel and show where the pattern starts and ends. The workshop can use that information to check whether the pattern can be carried across the bay. If the originals have all gone, FR5 assembled fretwork gives you an example with turned uprights, while FR8 assembled fretwork has shaped decorative uprights. Use the product photos to compare the rhythm and outline against your verandah.
A site sheet you can use bay by bay
Give each bay one line on the sheet. For example, Bay A might be 2,410 mm between posts, with drops of 330 mm at the left, 220 mm at the centre and 332 mm at the right. Those figures are only an example of how to label the readings. Write “viewed from the street” on the sheet so left and right mean the same thing to everyone. Mark any dimensions the installer still needs to check.
Send everything together
When you send the measurements and photos, include the number of bays, tell us which panels are staying, and say whether you’d like a ready-assembled panel or would prefer to discuss a kit. If you’ve already got a safely removed original, ask the workshop whether bringing it in would help. Leave anything overhead or structural in place for your builder to assess.
Talk to the workshop
Don't hesitate to get in touch with us — we would love to discuss your order. Call 03 9720 7266 or 1300 547 581, or send us the details below.