Heritage front fences and gates
Published
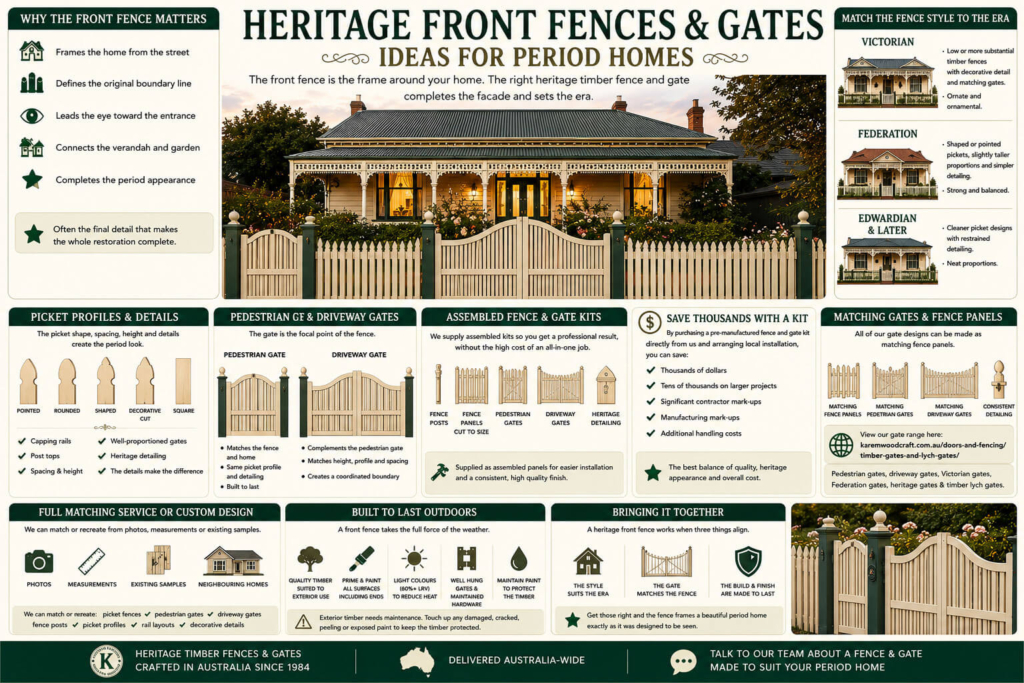
The best place to start a front fence design is on the other side of the street. From there, you can see where the gate falls in relation to the front door, how much of the garden shows and which details of the house already stand out. Take a photo from that spot before you look at any patterns. It gives you something to refer back to when the fence and gate are quoted separately.
Borrow one detail from the house
Look for a shape that is already doing some work. If you have turned verandah posts, a curved detail at the entrance can pick up the profile without repeating it everywhere. If the front is quite simple, a straight line across the top of the fence can make the gate easier to read. The height of a rail or the spacing of the uprights is often enough to tie the two together. Take a closer photo of any original part you want to carry through.
Open fencing gives you a view of the garden and the verandah from the street. A closer pattern can screen the path or a sitting area. Before you settle on the infill, walk the length of the boundary and check the views at both ends. You may want a clearer view near the driveway than you do in front of a window.
Compare the gates in the actual opening
Put two or three choices beside your frontage photo. The Aspen timber gate, Kensington timber gate and Chelsea timber gate give you different patterns to compare. Focus on how much of the opening is filled and where the top rail sits beside the fence. Ask whether the chosen pattern can suit both the pedestrian and driveway openings if you want them to relate.
Measure the openings separately and label the figures. For the pedestrian gate, show the path, the hinge and latch sides, and the direction of swing. For the driveway, take a wide photo showing the slope and the space where the leaves would open. If you are considering automation, bring the installer into the discussion early so the gate, hardware and site can be considered together.
Measure the fence in sections
Walk from one post to the next and mark each bay on a quick sketch. Show where the ground changes level and note which posts or walls are staying. This helps when looking at the timber fencing range or asking for a fence and gate to be made to the same layout. An overall boundary length is useful context, but a labelled photo and a list of individual openings give the workshop more to work with.
Before ordering, have your installer check the finished dimensions, support and swing. Check any planning or heritage requirements for the property. Then send your preferred gate code, the sketch and the frontage photo together so everyone is quoting the same design.
Talk to the workshop
Don't hesitate to get in touch with us — we would love to discuss your order. Call 03 9720 7266 or 1300 547 581, or send us the details below.